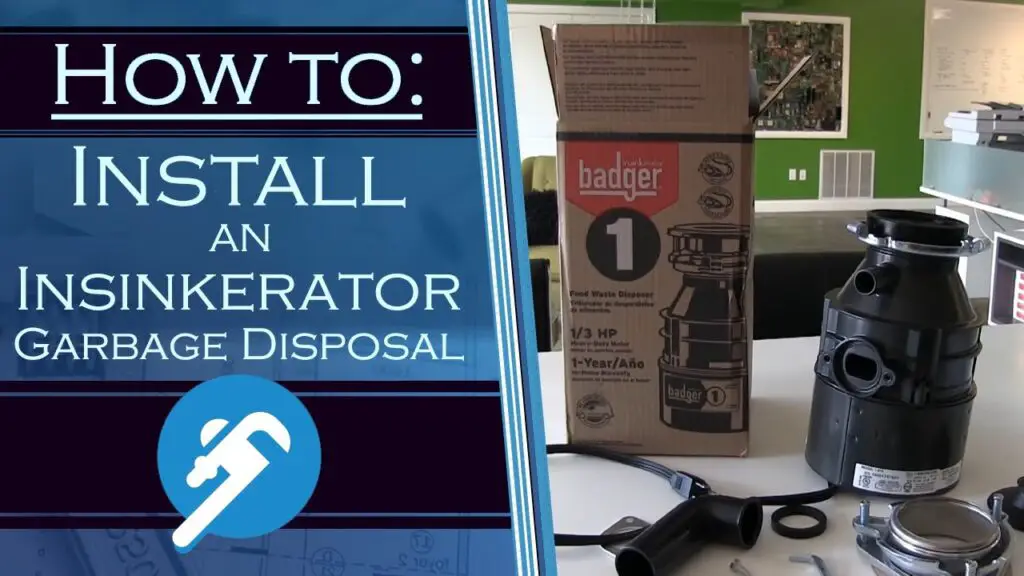
To install an Insinkerator garbage disposal, start by turning off the power and removing the sink flange. Next, attach the new flange, mount the disposal unit, and connect the wiring and plumbing.
Garbage disposals like the Insinkerator are essential kitchen tools for efficient waste management. They make the cleanup process after meals quicker and help keep sinks clog-free. A new Insinkerator can be a valuable addition to your kitchen, and with the right guidance, installation can be straightforward.
To ensure success, gather all necessary tools and review the manual before you begin. Our step-by-step approach will lead you through a smooth installation process that doesn’t require extensive plumbing knowledge. Get ready to enhance your kitchen’s functionality and hygiene with this powerful disposal upgrade.
The Essentials Of Garbage Disposal Installation
Installing a garbage disposal unit like the Insinkerator isn’t just about making your kitchen chores more efficient. It’s an upgrade that can add value to your home and lifestyle. Proper installation ensures it operates smoothly without leaks or damage. Let’s dive into the must-know details of garbage disposal installation.
Tools And Materials Needed
To start off, gathering the right tools and materials is crucial. You’ll want to ensure you have everything at hand before beginning the installation process.
- Pipe wrench for tightening and adjusting plumbing fittings.
- Screwdrivers to secure components and electrical connections.
- Plumber’s putty to create a tight seal between the sink and the disposal unit.
- Electrical cord kit if not pre-installed in your disposal.
- Wire nuts and electrical tape for safe electrical connections.
Preparatory Safety Measures
Your safety is paramount. Before installing your new Insinkerator, certain safety measures are non-negotiable.
- Turn off all power to the area where you’re working to avoid electrical accidents.
- Read the manual to familiarize yourself with the unit and the installation requirements.
- Wear safety gear such as gloves to protect your hands from sharp edges.
- Check for leaks in your existing sink plumbing to prevent future problems.
- Enlist help if needed. Some steps might require an extra pair of hands for safety and ease.
Assessing Your Sink Configuration
Begin Introduction
Assessing your sink configuration is the first crucial step before installing an InSinkErator garbage disposal. Correctly evaluating your sink setup ensures a seamless and efficient installation process. This step involves understanding the type of sink you have and checking your existing plumbing to confirm compatibility with a new disposal unit.Sink Type and Compatibility
Sink Type And Compatibility
Knowing your sink type is essential to determine whether an InSinkErator garbage disposal will fit. Different sinks come with unique features and mount systems. Here’s how to identify if your sink is ready for a disposal:
- Check the material: Stainless steel and cast iron sinks are ideal.
- Examine the mount: Ensure you have a standard sink mount compatible with garbage disposals.
- Measure the sink depth: Ensure ample space for the disposal beneath the sink.
Note the drain size, standard sinks have a 3.5-inch drain fitting which is suitable for InSinkErator models.Existing Plumbing Evaluation
Existing Plumbing Evaluation
Next, take a close look at your current plumbing. Any garbage disposal needs proper connections. Here’s what to look out for:
- Drain pipes alignment: They must align with the disposal’s outlet.
- Water supply and shut-off valves: Confirm they are in good working condition.
- Dishwasher connection: If present, a knockout plug may be necessary.
If you spot any issues, address them prior to installation to avoid leaks or blockages.
Removing The Old Disposal Unit
Welcome to the crucial first step in updating your kitchen’s efficiency — removing the old garbage disposal unit. This task sets the stage for a smooth installation of your new InSinkErator. Ensure safety and avoid potential mishaps by following these detailed steps. Let’s dive into the process.
Disconnecting Power And Plumbing
Before you start, turn off the power supply to avoid any electrical hazards. Confirm the disconnection with a circuit tester. Once safe, proceed to the following actions:
- Locate the disposal unit under the sink.
- Disconnect the power cord from the electrical outlet.
- Use a wrench or pliers to disconnect the drainpipe.
- Detach the dishwasher hose if connected.
These steps ensure a safe work area free from active electrical components and water leaks.
Dismantling And Disposal
Moving forward, carefully dismantle the disposal unit to prevent damage to your sink or pipes. It includes the following:
- Support the disposal with one hand or tools.
- Twist and unlock the mounting ring.
- Lower the disposal gently to avoid strain.
With the unit disconnected, prepare it for proper disposal. Most areas have specific regulations for disposing of electronic waste. Make sure to recycle or dispose of the old unit following local guidelines.
Clear the area to welcome your new InSinkErator garbage disposal. You’re now ready to enhance your kitchen’s capabilities with a fresh install.
Credit: insinkerator.emerson.com
Mounting The New Insinkerator
Excited about your new Insinkerator garbage disposal? Follow these steps to get your kitchen upgrade up and running smoothly. Let’s begin by mounting your new Insinkerator with ease and confidence.
Attaching The Mounting Assembly
First, gather your tools and the mounting hardware. You’ll need pliers, a screwdriver, and the assembly kit that came with your Insinkerator.
- Disconnect the power to your sink area to stay safe.
- Remove the old disposal unit if replacing.
- Place a towel under the sink for easy cleanup.
- Check the sink hole size. It must fit the new unit.
Now, let’s attach the mounting ring:
- Slide the fiber gasket, backup flange, and mounting ring onto the sink flange.
- From under the sink, slip on the snap ring. Secure it with pliers.
- Make sure the mounting ring is tight and even.
Securing The Disposal Body
With the mounting assembly in place, it’s time to hang the disposal:
- Lift the disposal and align it with the mounting ring.
- Rotate the disposal until it locks into place.
- Check for a snug fit all around.
Remember, always double-check connections! Loose parts can lead to leaks.
Connect the drain and dishwasher lines as per the manual.
Finally, restore power and run water through the disposal to test it. Smell success? That’s the sweet scent of DIY victory!
Connecting The Plumbing
Ready to get your Insinkerator garbage disposal up and running? The plumbing connection is a crucial step. With the right tools and guidance, this task is surprisingly simple. Ensure the power is off before starting. Follow each step carefully to avoid leaks and future problems.
Drain Lines And Dishwasher Hookup
Connect the garbage disposal’s drain lines properly. This ensures a smooth operation. For homes with a dishwasher, the disposal unit can manage its waste, too. Below is a guide for both connections:
- Remove the plug for dishwasher connection if needed.
- Attach the drain line to the disposal with the provided gasket and flange.
- Secure it tightly with the clamp to prevent detachment.
- Check alignment with the sink drain properly to ensure smooth flow.
Ensuring Leak-proof Connections
Leak-proof connections keep your kitchen clean and dry. Use these strategies when connecting the plumbing of your Insinkerator:
- Use plumbers putty on all flanges for a watertight seal.
- Check all washers and gaskets. They should fit snugly.
- Tighten all connections with appropriate wrenches. Avoid overtightening.
- Test for leaks by running water before final use.
Always follow the manual for specifics regarding your model. If unsure, consult a professional. A well-connected disposal is key to a clean and functional kitchen.
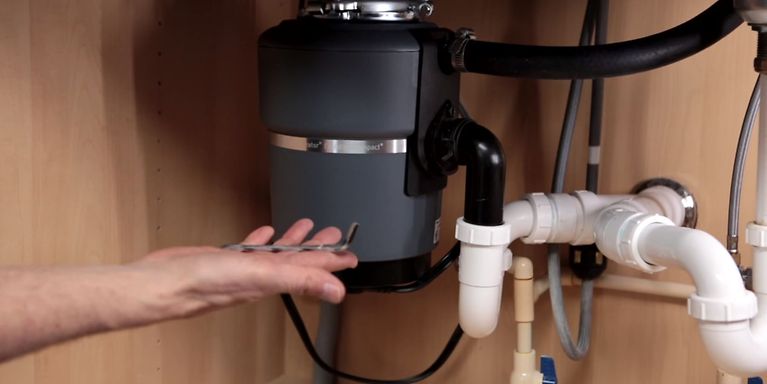
Credit: www.youtube.com
Electrical Wiring And Final Steps
Electrical Wiring and Final Steps are crucial when installing a new Insinkerator Garbage Disposal. After mounting your unit, it’s time to wire it safely. The final checks ensure a smooth and secure operation. Follow these detailed instructions. Your sink will be ready for use in no time.
Wiring The Disposal Unit
Before starting the wiring process, confirm the power is off. Use a voltage tester for safety. With the power safely disabled, proceed to wire your Insinkerator. For garbage disposals, wiring can be simple. Below are the steps to ensure it’s done right:
- Remove the plate covering the electrical connections on the disposal.
- Insert the strain relief into the hole and tighten to secure the cable.
- Strip the wire ends to reveal clean wire for connecting.
- Connect the wires using wire nuts. Match wire colors – white to white, black to black.
- Connect the green wire or bare copper wire to the green ground screw.
- Replace the electrical cover plate once all wires are connected properly.
Testing Your New Insinkerator
Once wired correctly, it’s test time. Follow these simple steps to start your disposal the right way:
- Restore the power to the unit.
- Run water through the sink.
- Turn on the disposal using the wall switch.
- Listen for a soft humming sound indicating it is running.
- Check for any leaks below the sink.
If the unit operates smoothly and no leaks are present, congratulations! Your Insinkerator is now properly installed. Enjoy your cleaner, more efficient kitchen space.
Maintenance Tips For Your Insinkerator
Keeping your Insinkerator garbage disposal in top shape is crucial. Regular maintenance not only ensures efficient operation but also extends its life. Follow these expert tips to keep your disposal running smoothly.
Routine Cleaning For Longevity
To maintain your Insinkerator, routine cleaning is essential. Here’s a simple guide:
- Run cold water and turn on the disposal.
- Add a few ice cubes and a slice of lemon.
- Let it grind for a minute to sharpen blades and deodorize.
- Flush with water once done.
Once a month, use a safe cleaning solution to remove grime:
- Mix baking soda and vinegar.
- Pour into the disposal and wait 10 minutes.
- Run hot water to clear the mixture through.
For daily upkeep, simply run the disposal with cold water after each use.
Avoiding Common Mistakes
Some habits can harm your Insinkerator. Avoid these mistakes for longevity:
| Do | Don’t |
|---|---|
| Use cold water when grinding. | Grind expandable foods like pasta. |
| Cut large items into smaller pieces. | Put coffee grounds or eggshells inside. |
| Run disposal regularly. | Overload it with too much waste at once. |
Your Insinkerator can’t handle everything. Here’s a quick list to remember:
- Non-biodegradable items: These include plastic, metal, and paper.
- Fibrous foods: Onion skins and corn husks can tangle the blades.
- Oily substances: Grease and oil build up over time, leading to clogs.
With these simple maintenance steps, your Insinkerator will remain a reliable kitchen aid.
:max_bytes(150000):strip_icc()/garbage-disposal-installation-1824830-hero-1dcd7b5b05d44a2cb367e31692500c8c.jpg)
Credit: www.thespruce.com
FAQs On How To Install A Insinkerator Garbage Disposal
Can I Install An Insinkerator Myself?
Yes, many homeowners can install an InSinkErator themselves by following the manufacturer’s instructions and observing proper safety measures. Ensure you have the required tools and skills before attempting installation.
Can An Insinkerator Be Installed In Any Sink?
An InSinkErator can fit most sinks, but compatibility depends on sink size, hole dimensions, and plumbing setup. Adapter kits may be necessary for atypical installations.
How Do You Install A Lift And Latch Garbage Disposal?
To install a lift and latch garbage disposal, first turn off the power. Securely attach the mounting ring, then align and lock the disposal unit into place. Connect the wiring as per instructions, and finally, attach the drain pipes before testing the installation.
How Hard Is It To Install A Garbage Disposal?
Installing a garbage disposal is moderately challenging, requiring basic plumbing and electrical skills. Follow the manufacturer’s manual and safety guidelines, and always ensure power is off before starting the installation. Hiring a professional is advisable for those unfamiliar with such tasks.
Conclusion
Wrapping up the installation of your Insinkerator garbage disposal doesn’t have to be daunting. With the right tools and steps, you can enjoy the convenience of a modern kitchen aid. Remember to follow the manufacturer’s guidelines carefully and always prioritize safety.
Tackle your kitchen upgrade with confidence, knowing you’re equipped to handle the task at hand.