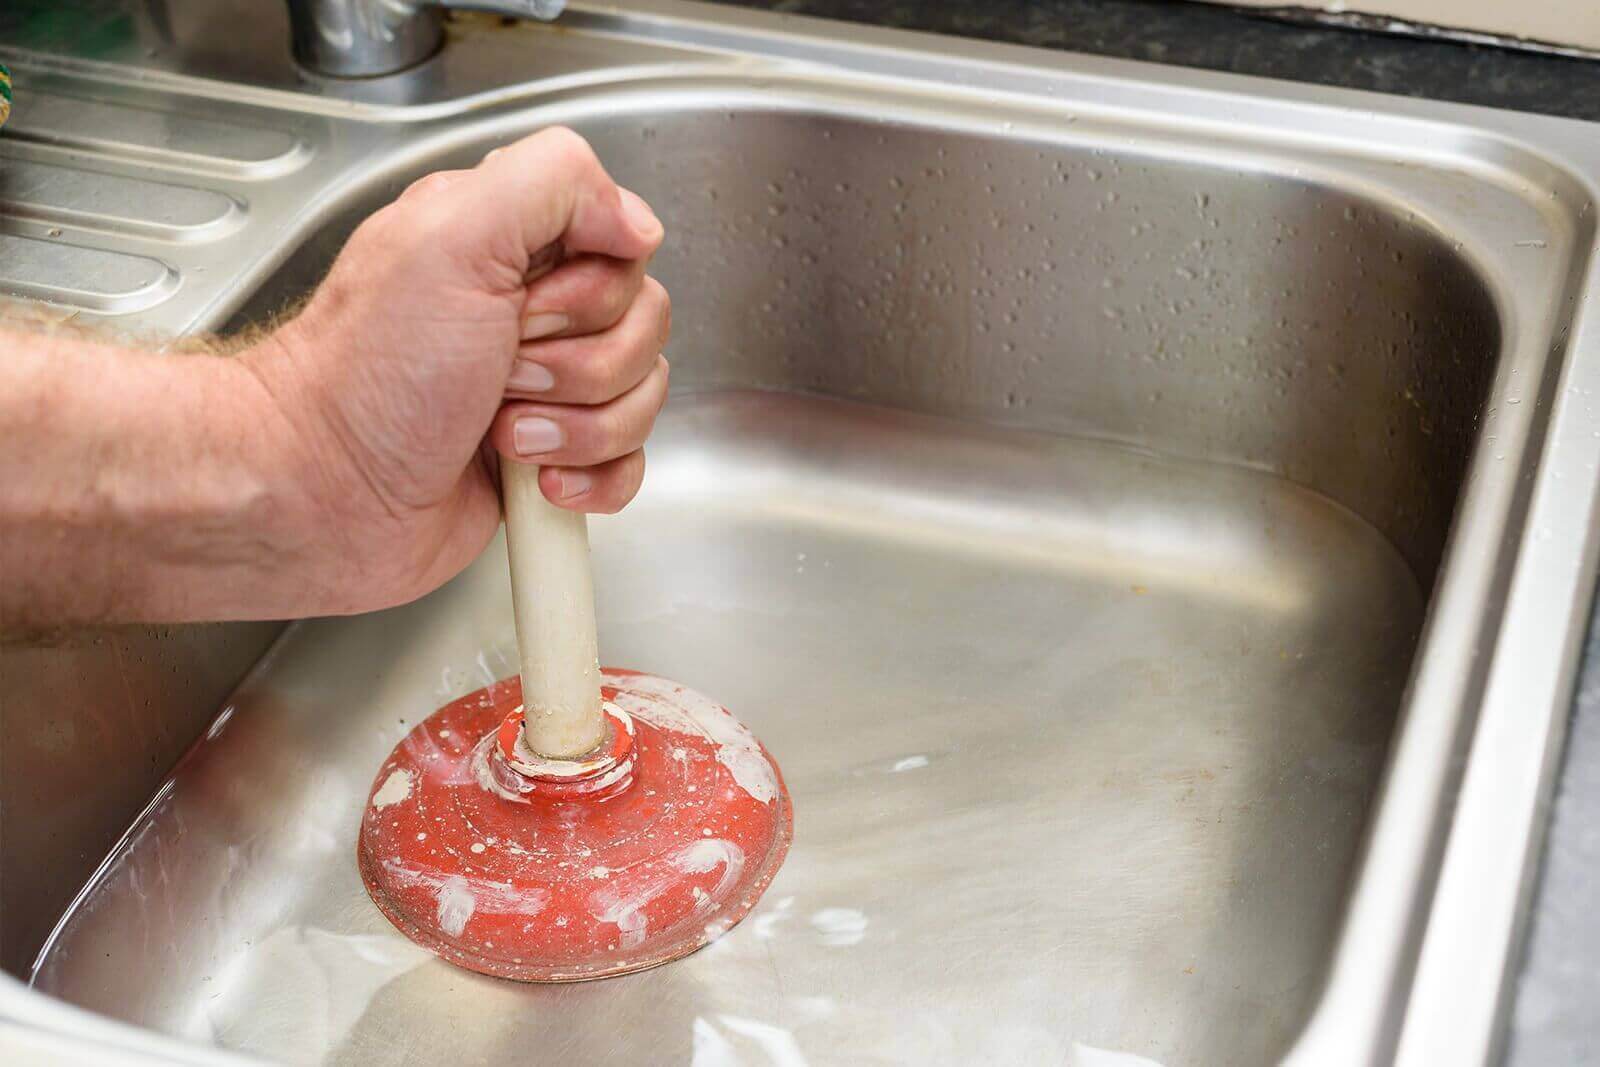
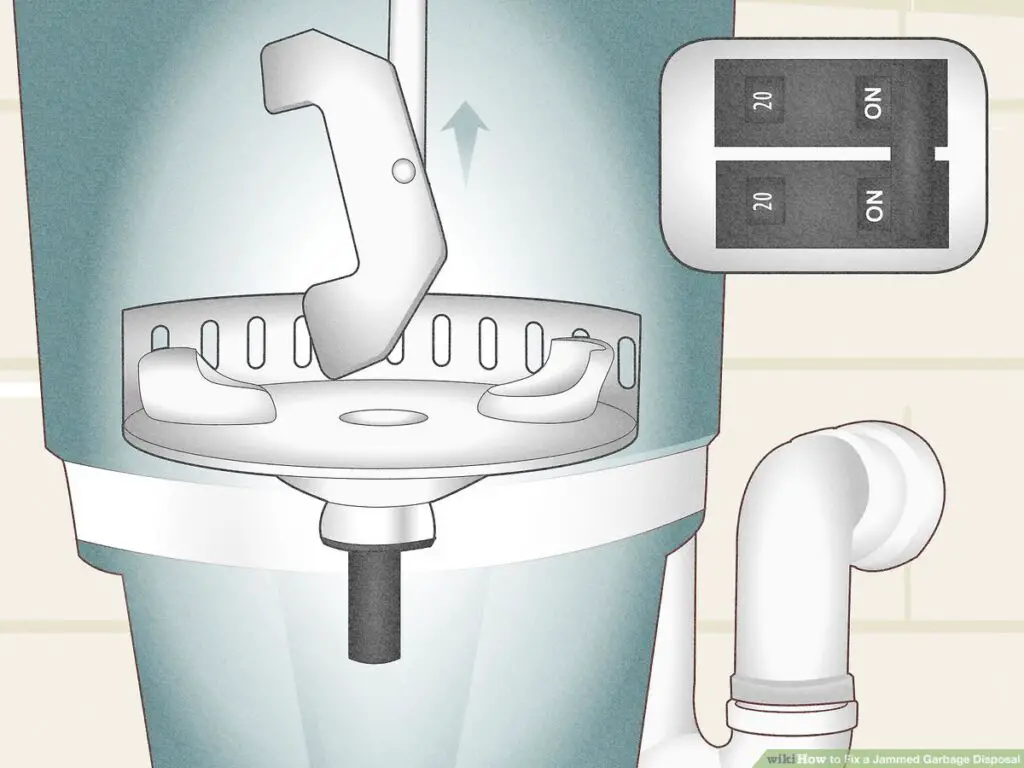
To fix a jammed garbage disposal, first, ensure the unit is off, then manually turn the blades with an Allen wrench. Clear any obstructions with pliers or tongs before attempting to reset the disposal.
Dealing with a jammed garbage disposal is a common household issue. Prompt action can save you from costly repairs and keep your kitchen running smoothly. Many homeowners experience this snag at some point, requiring a simple yet cautious approach to resolve.
Before plunging into troubleshooting, safety is paramount; always disconnect power to avoid accidents.
A jam typically occurs when hard objects, such as bones or utensils, become lodged within the grinding chamber. By utilizing common tools and following a steadfast procedure to dislodge the jam, your disposal’s functionality can often be restored.
Remember, regular maintenance and mindful use can prevent most disposal jams, ensuring your kitchen chores are uninterrupted.

Credit: www.wikihow.com
Common Causes Of Garbage Disposal Jams
Jammed garbage disposals cause headaches in many households. Knowing common reasons sheds light on prevention and solutions. Let’s dive into the typical culprits behind disposal jams.
Accidental Object Lodgement
Foreign objects in disposals cause instant jams. These are items that simply don’t belong there. Examples include:
- Utensils: Spoons or forks can slip in unnoticed.
- Jewelry: Rings or small earrings can fall off.
- Non-food items: Children’s toys or decor pieces.
Hard Food Items
Some foods damage the disposal. Even disposals designed to grind food can struggle with:
| Food Type | Why It’s a Problem |
|---|---|
| Bones | Too hard to grind. |
| Fruit pits | Can get stuck between blades. |
| Corn husks | Fibers tangle the blades. |
Overfilling And Lack Of Water
Overfilling the disposal without enough water leads to clogs. Proper use includes:
- Small amounts at a time.
- Plenty of cold water during and after grinding.
- Running disposal until clear.
Safety First: Preparing To Troubleshoot
A jammed garbage disposal can be a real headache. It’s essential to approach the repair with caution. Safety should always be the top priority before troubleshooting any home appliance. Follow these steps to prepare safely and efficiently.
Power Off And Unplug
Before you begin, make sure your disposal is off. Check under the sink to find the disposal unit’s power cord. Unplug the unit from the outlet. This ensures the disposal cannot turn on while you’re working on it. Double-check by flipping the disposal’s switch to see if it’s truly disconnected.
Gathering The Right Tools
You’ll need a few tools to fix a jammed garbage disposal. Make a list and gather them before starting. Common tools include:
- A flashlight
- Allen wrench or garbage disposal wrench
- Pliers or tongs (to remove debris)
Protective Gear Recommendations
Protective gear is crucial to avoid injury. Always wear gloves to protect your hands from sharp objects. Safety goggles are also recommended to shield your eyes from debris. With the right preparation, you can fix the jam safely.
Initial Inspection And Simple Fixes
A jammed garbage disposal can be a hassle. Before calling a professional, try these easy fixes. A careful inspection and some simple techniques might solve the problem quickly.
Visual Inspection For Obvious Blockages
Start with a flashlight to check for any object causing a blockage. Never put your hand inside the disposal.
- Turn off the disposal’s power.
- Use a flashlight to look inside the drain.
- Check for visible objects.
Reset Button Technique
The disposal may need a simple reset. The reset button is often red and located on the bottom of the unit.
- Find the red reset button underneath the disposal.
- Press the button firmly.
- Wait a few minutes, then test the disposal.
Manual Rotation Method
If the disposal is still jammed, manually rotating it may help. Use an Allen wrench for this method.
| Step | Action |
|---|---|
| 1 | Locate the hex-shaped hole on disposal’s bottom. |
| 2 | Insert an Allen wrench into the hole. |
| 3 | Turn the wrench back and forth. |
| 4 | Free the jammed blades. |
Advanced Clearing Techniques
When your garbage disposal is beyond the quick fixes, you’ll need to step up your game. This means moving beyond the simple reset button or hex wrench methods. You must ensure safety by turning off the power to the unit before proceeding. The following advanced techniques can help you effectively clear out a stubborn jam without calling in the professionals.
Using Pliers Or Tongs
To remove items that you can see but can’t reach, use pliers or tongs. Never put your hands inside the disposal. Follow these steps:
- Switch off the power at the circuit breaker.
- Shine a flashlight into the disposal for a clear view.
- Use pliers or tongs to grip and remove the obstruction.
- Rotate the blades manually with a hex wrench afterward to ensure movement.
- Flip the power back on and test the disposal.
Applying Cleaning Solutions
Sometimes, what seems like a jam is just accumulated grime. A DIY cleaning solution can help:
- Combine baking soda and vinegar in equal parts.
- Pour the mixture into the disposal.
- Let it fizz and sit for ten minutes.
- Boil water, and pour it down the disposal to flush the solution.
- Press the reset button and try running the disposal.
Disassembly For Deeper Clogs
If the clog is deep within the disposal, disassembly may be necessary. Remember, this is a task for those confident with DIY repairs:
- Confirm the power is off to prevent accidents.
- Place a bucket under the unit to catch any waste.
- Unscrew the mounting ring and gently lower the unit.
- Remove any debris found within the disposal chamber.
- Reassemble the unit, restore the power and test.
Regular maintenance and care will keep your garbage disposal running smoothly. Addressing jams promptly prevents more severe issues. Use these advanced techniques only when simple methods don’t work.
Post-clearing Steps
Once you’ve managed to fix a jammed garbage disposal, it’s crucial to ensure it runs smoothly. Follow these simple post-clearing steps.
Thorough Cleaning Process
A clean disposal is a happy disposal. Begin with turning off the power. Plug the sink and fill it with soapy water. Unplug the sink to let the water flush through the disposal. This helps clear the remaining debris.
Next, scrub the inner side of the disposal with a dish brush. Rinse thoroughly. For a deeper clean, add a mix of baking soda and vinegar. Let it fizz for a few minutes, then rinse with hot water.
Testing The Disposal
After cleaning, it’s time to test. Restore power to the unit. Run water and flip the disposal switch on. Listen for unusual noises. The disposal should run quietly and smoothly. If you detect any odd sounds or vibrations, turn it off immediately and recheck for any missed obstructions.
Preventive Maintenance Tips
- Run cold water during and after use.
- Avoid disposing of fibrous foods like celery.
- Regularly use ice cubes to sharpen the blades.
- Cut waste into small pieces before disposing.
- Clean your disposal weekly with safe, natural cleaners.
Creating these habits can significantly reduce the likelihood of future jams.

Credit: support.insinkerator.com
Professional Help And When To Seek It
Encountering a jammed garbage disposal often calls for expertise beyond a simple DIY fix. Recognizing when professional intervention is necessary can save both your disposal and your safety.
Let’s explore the signs that indicate it’s time to call in the pros, how to choose the right repair service, and the crucial decision between repairing and replacing your unit.
Signs You Need A Professional
- Unusual noises: Persistent sounds like grinding or humming.
- No response: The disposal won’t turn on, even after pressing the reset button.
- Frequent resets: Constantly having to hit the reset button.
- Persistent clogs: Clogs that won’t clear with simple methods.
- Water leaks: Puddles of water under the sink.
Choosing The Right Repair Service
Selecting a skilled repair service is crucial. Look for these qualities:
| Licensed and Insured | Experienced Technicians | Positive Customer Reviews |
|---|---|---|
| Ensures accountability and safety. | Confirms expertise in handling disposals. | Reflects reliability and quality of service. |
Don’t hesitate to ask about warranties or guarantees on their work.
Understanding Repair Vs. Replacement
Balancing cost and longevity is key. Consider the following:
- Age of disposal: Units older than 5 years may need replacing.
- Frequency of issues: Frequent malfunctions suggest a new unit.
- Repair costs: If the repair exceeds half the cost of a new unit, opt for replacement.
A trusted professional can provide an honest assessment to guide your decision.

Credit: www.jdservicenow.com
FAQs Of How To Fix A Jammed Garbage Disposal
How Do You Manually Unjam A Garbage Disposal?
Turn off the power to your garbage disposal at the circuit breaker. Use an Allen wrench to manually turn the disposal’s blades from underneath. Carefully remove any lodged objects with pliers. Reset the disposal unit using its reset button. Switch the power back on after ensuring the disposal is clear.
How Do I Fix A Garbage Disposal That Just Hums?
Unplug the disposal or turn off the circuit breaker. Press the reset button on the unit’s bottom. Use an Allen wrench to rotate disposal blades manually via the hex hole. If it’s still stuck, check for foreign objects. Once cleared, restore power and test.
What To Do If Garbage Disposal Locks Up?
Turn off the power to your garbage disposal. Use an Allen wrench to manually rotate the disposal’s blades. If they’re still stuck, press the reset button underneath the unit. Ensure the disposal is free of any obstructions before restoring power and testing it.
What Causes Garbage Disposals To Jam?
Garbage disposals jam due to hard objects, fibrous materials, bulky foods, or lack of water during operation. Overloading and worn-out components also contribute to jams.
Conclusion
Tackling a jammed garbage disposal doesn’t have to be daunting. With the right tools and steps, you can quickly restore functionality.
Regular maintenance and mindful usage can prevent future jams. For more complex issues, seeking professional help is wise. Keep your disposal running smoothly with these easy-to-follow fixes.

